
You’re ready to smash your project and hit the climbing wall, but there’s a few must-know climbing rope knots you’ll need on hand before you can get vertical.
As with everything, it’ll take a mixture of practice and time before you feel really confident in your knots. For the first few times, ask your partner to double check your knots.
Grab a rope, any rope you have on hand nearby will do the trick, and practice with us as we figure our way through the top five climbing knots.
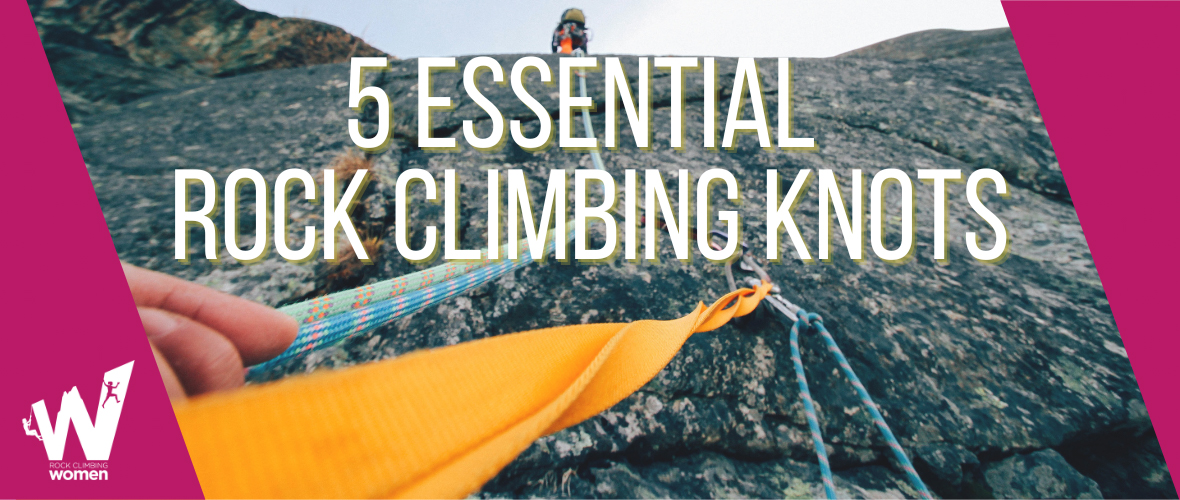
5 Essential Rock Climbing Knots: Beginner or Advanced
When it comes to climbing, tying knots is an art. It’s the very essence of your safety and your experience on the wall.
Sure, you need to know the basics of climbing — how to fall, do a harness check, practice your technique, and communicate properly — but tying knots is the next step.
Plus, you’ll look cool as ever when you build anchors or fly through a figure eight retrace.
As you build up confidence with these climbing rope knots, you’ll develop your own mechanism of recall and eventually it’ll feel like second nature.
Let’s get knot-ty.
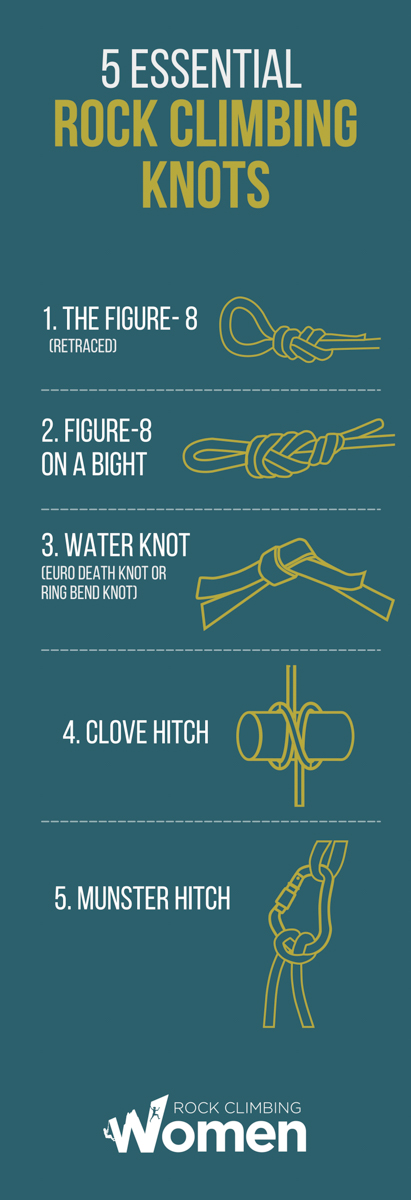
#1. The Figure Eight (Retraced)
This knot is your “tie in” knot. It gets its name directly from its appearance. You’ll form a figure eight knot, slip the rope through your harness, retrace the figure eight knot, and dress it.
Check this step by step below.
You might have heard this knot referred to by other names, including: retraced figure eight, figure eight followthrough, trace-eight, or tie-in knot.
It’s one of the most popular knots used in climbing and likely to be the first knot you learn in a climbing gym.
When tying in and practicing this knot, give yourself ample rope for retracing.
You’ll need at least six inches of extra rope after the knot to follow through and dress it properly.
If you don’t dress the knot before fall, it’ll be a hassle to untie.
#2. Figure-8 on a Bight
When climbing at height or tying in in the top-roping section of your gym, you might be asked to do a figure-8 knot on a bight.
This knot is essentially the same as the figure-8 retraced, but instead of tying in directly to your harness, you’ll form a rope loop to use with a carabiner.
Figure-8 knots are some of the most trusted and secure knots in the climbing world.
#3. Water Knot/Euro Death Knot
As scary as the name seems, this knot is used primarily to tie rope to rope or to tie runners for rappelling on a route.
Climbers love it because it navigates over rock features without tangling or getting caught.
It’s commonly referred to as the water knot, Euro Death Knot, or ring bend knot.
The knot is easy to learn, as it’s simply an overhand knot retraced through itself.
The water knot is prone to loosening and untying, so it’s vital that you leave a bit of rope slack after the knot to balance that out.
#4. Clove Hitch
The easiest way to connect a climber to an anchor is by tying a clove hitch.
It’s broken down to three steps: loop, slide, and clip.
First, form two loops, one with a rope trail on the bottom and one with a rope trail on the top.
Second, slowly slide these two loops together with the right hand loop going behind your left hand loop.
And clip!
This knot takes two hands to tie, but you might catch some climbing magicians tying the one-handed clove hitch, which is pretty fun to watch.
#5. Munster Hitch
The munster hitch is used to create friction when belaying and allows climbers to extend outwards from anchors safely.
You only need a single carabiner to tie this knot — no extra gear required.
As this hitch kinks the rope more than usual, it’s suggested to only use this knot in case of emergencies, such as escaping a belay or abseiling without a belay device.
Begin by threading the rope through the carabiner like normal.
Twist a loop in the climber’s end side of the rope and clip into this loop with the carabiner.
You’re then ready to fasten the carabiner to your belay loop, screw the locking mechanism into place, and test the set-up before you get a climber on belay.
Quick Rope and Knot Tips
Even when you can tie these knots in your sleep, always, always, always, double check your knots or have a partner look them over before you ascend.
Accidents happen all the time. It’s very easy to get too comfortable in your process, but height is unforgiving.
Now that you’re all roped up with knot knowledge, you’ll be able to climb harder grades, knowing you’re safe on the wall.
Stay in the loop (see what I did there) with valuable climbing news via our email newsletter.
We hope to see you tying in for your next project very soon!
McKenzi Taylor founded Rock Climbing Women in 2013 after moving to a new city as a new climber seeking more climbing partners (and new friends!). Since her first taste of climbing in Spearfish Canyon, SD, McKenzi has been at the rock face seeking and sharing the thrill of climbing. She credits the support of a consistent climbing partner and community as the motivation to continue developing her skill, whether it’s trad, sport climbing or bouldering. A full-time business owner and mother, McKenzi’s on a mission to get her kids outside and learning to adventure alongside her.